Creating your own palette
To create a new palette:
- Click on the palette dropdown and then click +Add palette
- A dialog window will appear where you can name your palette
- You can also choose a palette type: whether it contains parts or submodels
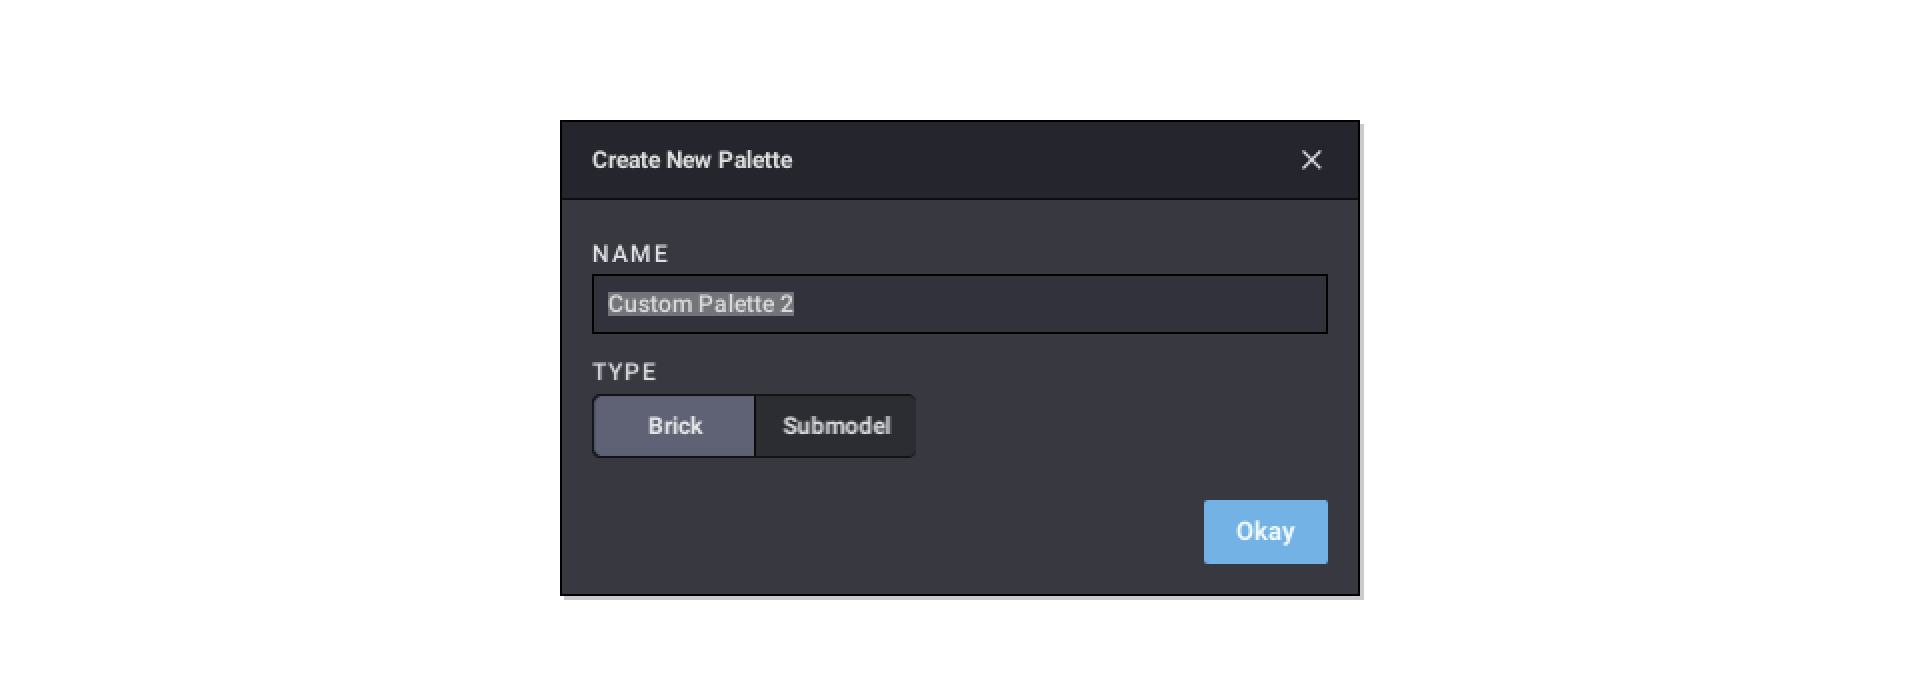
You can also create a palette from the inventory of an official LEGO set or from a wanted list.
Adding parts to a custom palette
You can add a part to a palette you’ve created from the Viewport or from another palette:
- Right-click on a single part in the building palette or a selection in the Viewport.
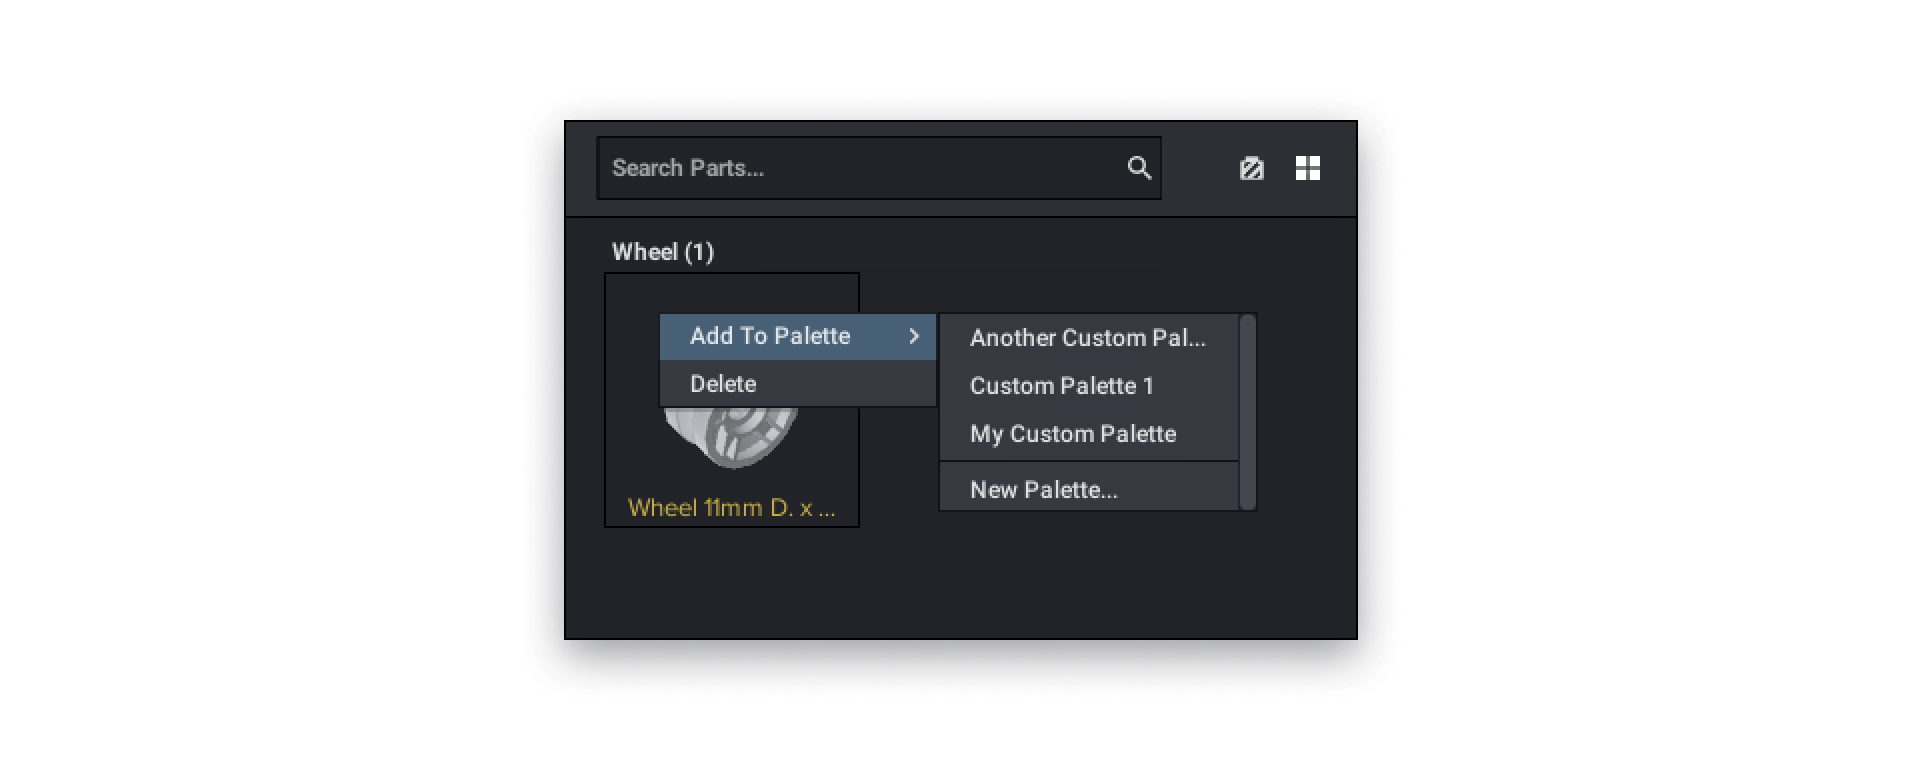
- Click on Add to Palette
- Choose the palette you want to add the part(s) to or create a new one with New Palette…
- The part(s) will be added in its current color. If you want to add parts in multiple colors, you’ll have to change their color each time you add them.
- You can’t add parts to Studio's predefined palettes.
- If you add a submodel to a palette for parts, the submodel will be 'parted out’ it's its parts that will each be added.
Removing parts from a custom palette
To delete parts from a palette you’ve created:
- Right-click on a part in the palette
- Click on Delete
You can delete the whole parts of an entire category:
- Right-click on the category name
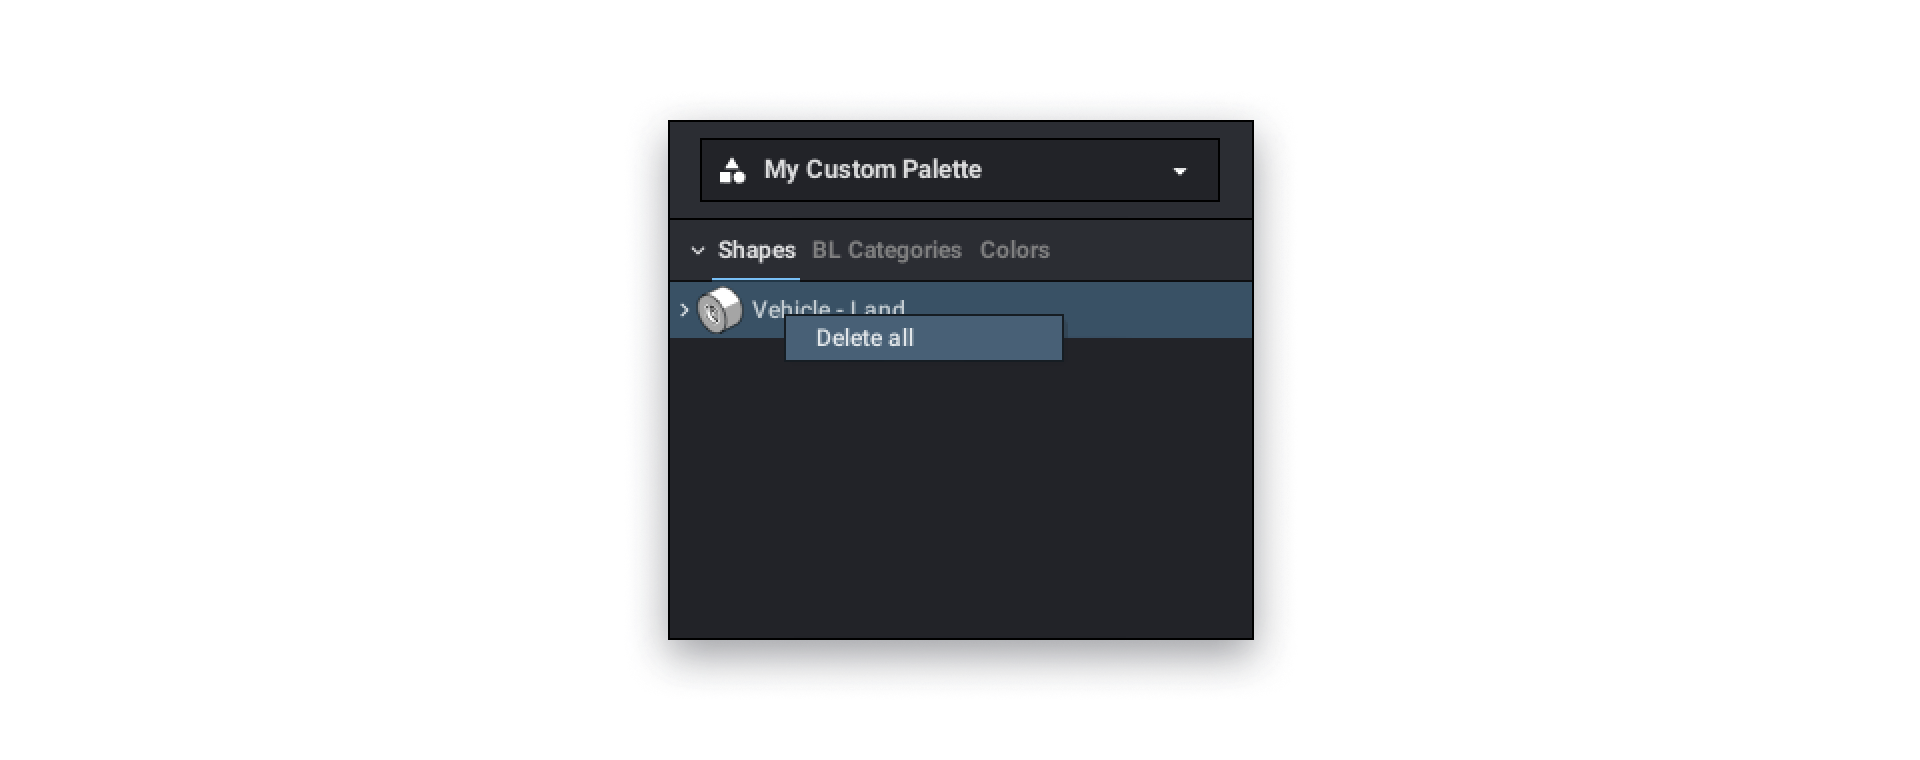
- Click on Delete all
Renaming, deleting, or exporting a palette you created
- Click on the palette dropdown, and then select Config…
- A dialog will appear with a list of all your palettes
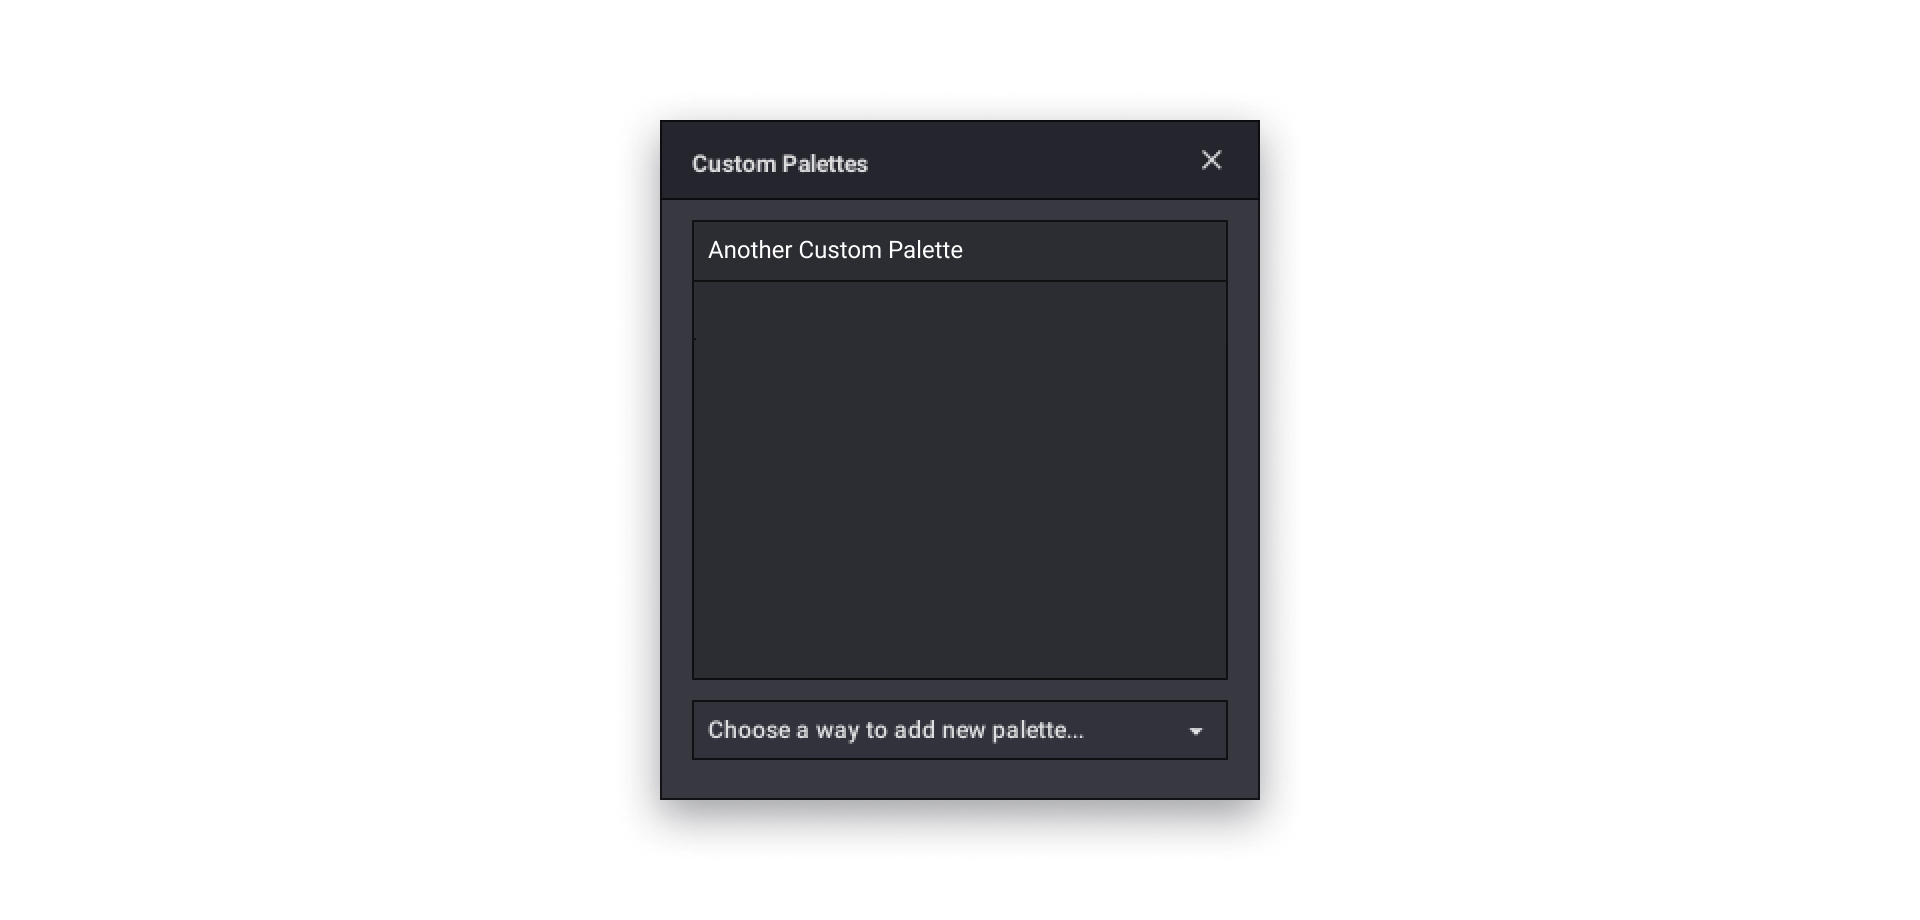
- Hover over a palette you want to delete, rename or export
- Buttons with available actions appear next to a palette name
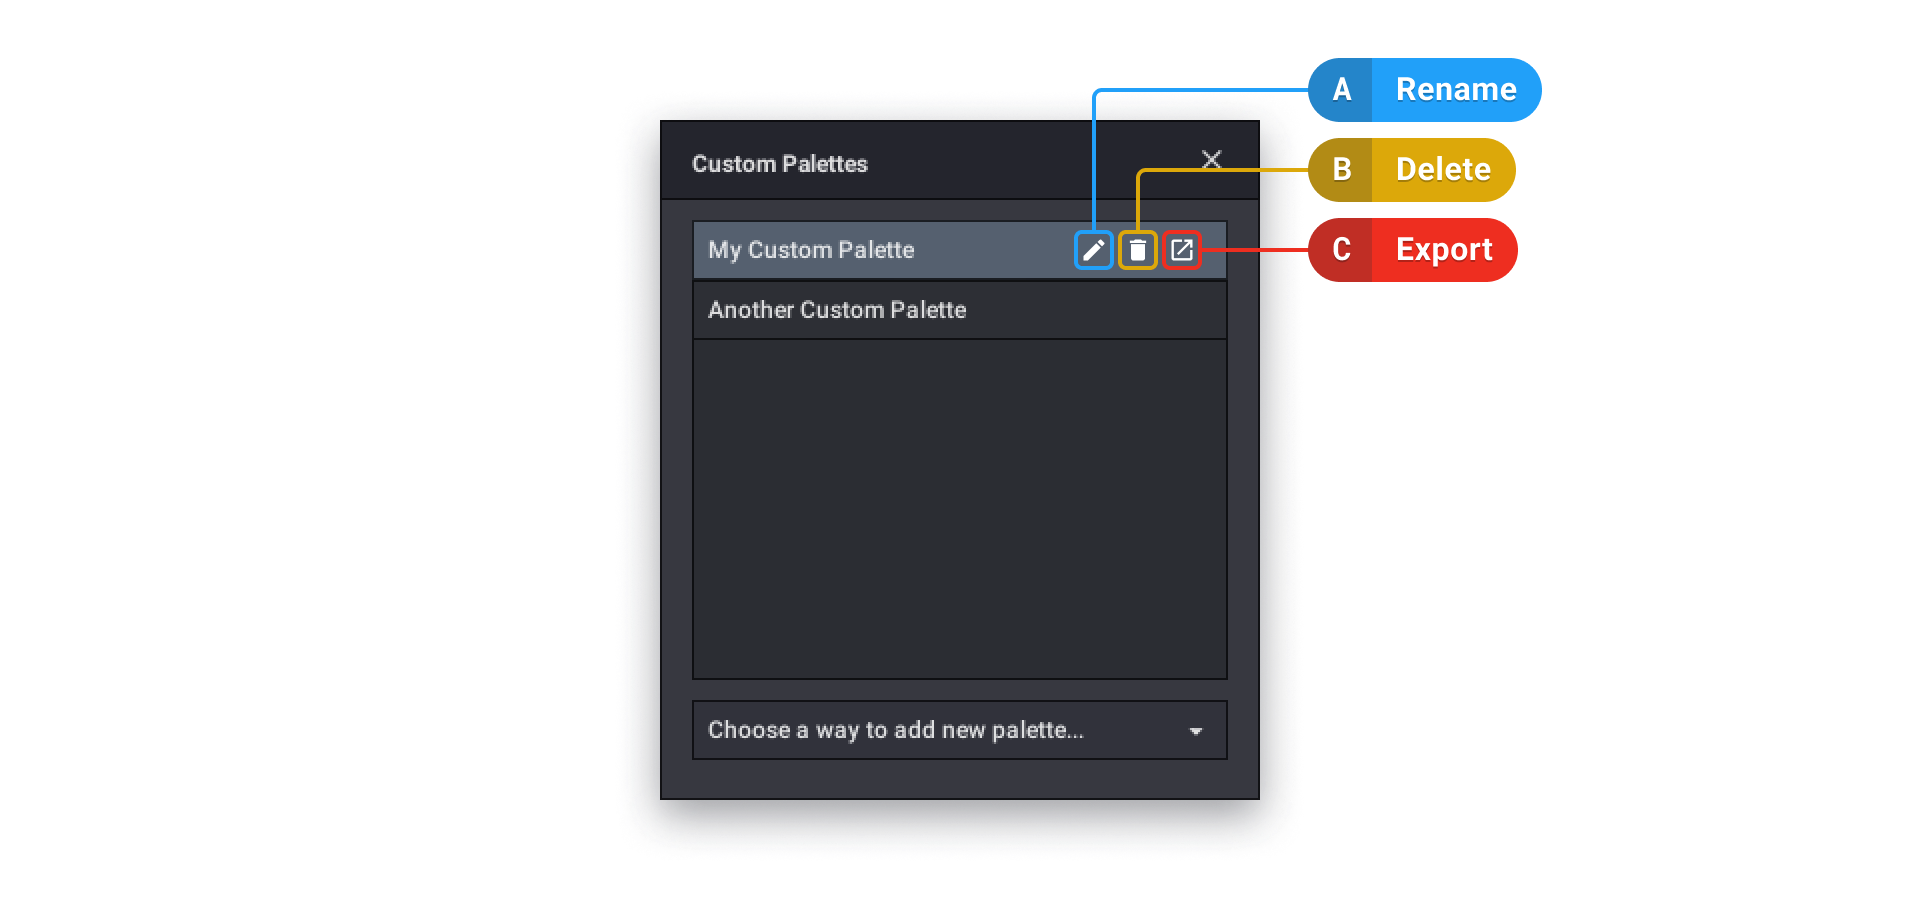
A. Rename: click the pencil icon to edit the name of a palette
B. Delete: click the trash icon to delete a palette
C. Save: click on the box icon to export a selected palette in the BrickLink Wanted List XML - Close the dialog by clicking the x icon in the top right corner. You can also create palettes from that dialog. See Import an Official Set and Import a Wanted List.