Creating steps
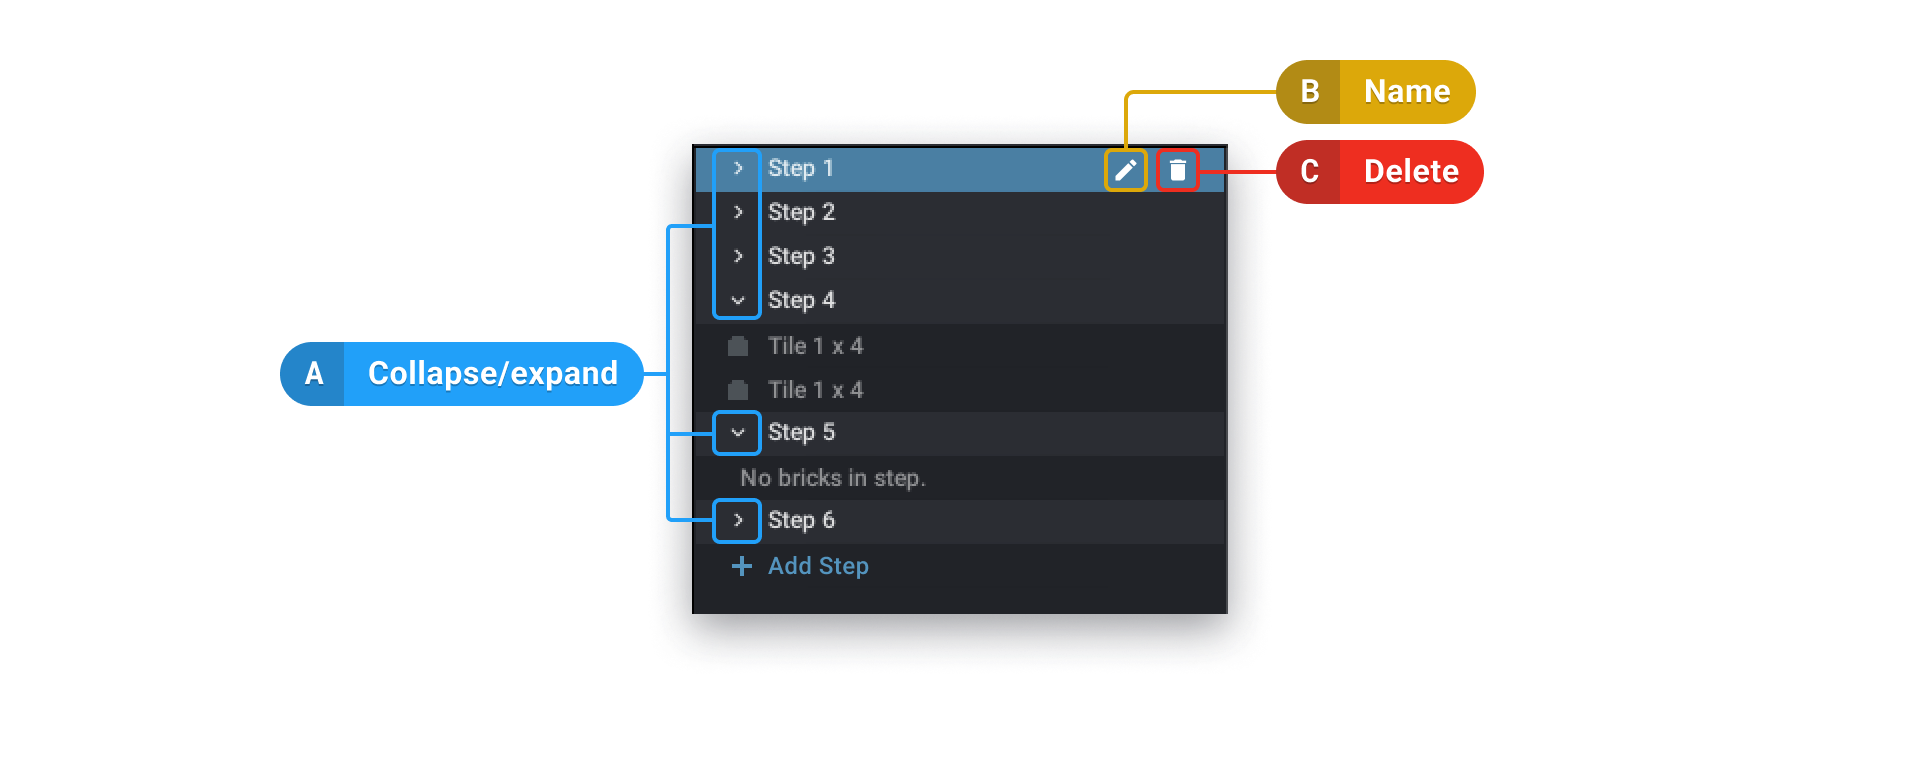
To create a step, click "+ Add Step" button located at the bottom of the step list.
or click + icon in the toolbar at the bottom of the step list.
- If a step is selected, a new one will be created after the one you have selected.
- If a part is selected, a new step will be created as the last step.
The Ctrl T shortcut and general menu entry Model | Create Step both create a step at the end of the step list, regardless of whether you’ve selected a step or a part.
Deleting steps
To delete a step:
1. Hover over it and click the trash icon (c) or right-click on it and use the Delete entry from the context menu.

Selecting parts and steps
To select a part in the step list, click on it. Hold Ctrl and click to select multiple parts.
Holding Shift and clicking will add all the parts and submodels between the part selected first and the clicked part will be added to the selection.
You can also select parts in the Viewport.
Moving parts between steps
To move parts to another step:
- Select the parts you want to move
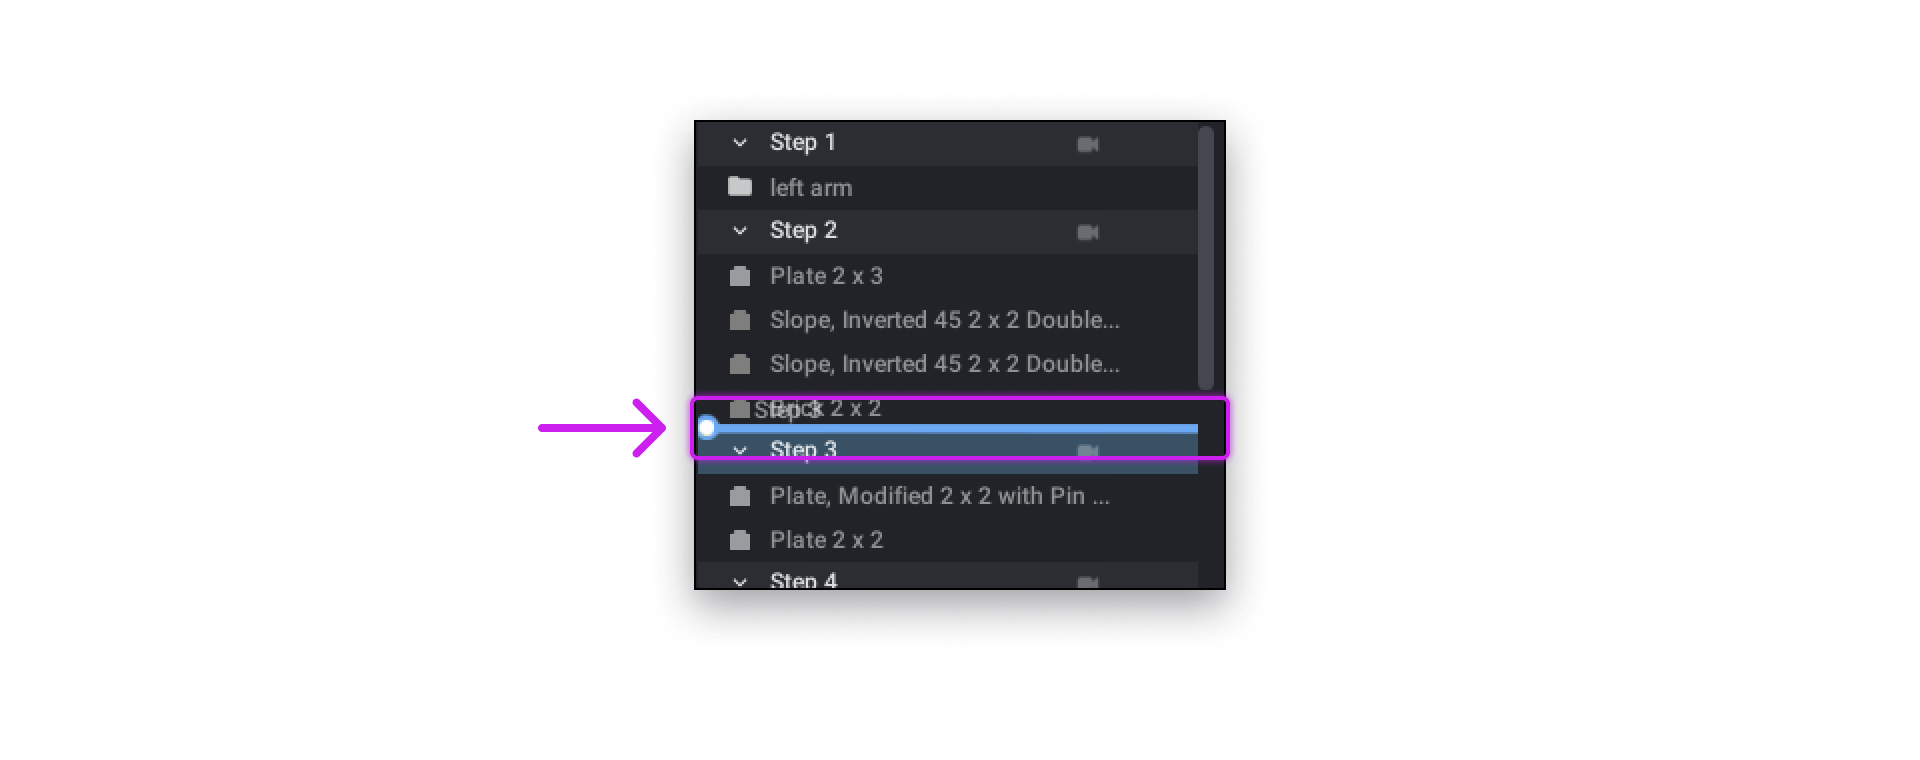
- Grab the selected parts in the step list and drag them to where you want them to be in the list.
- A blue line appears to show where they'll be moved to.

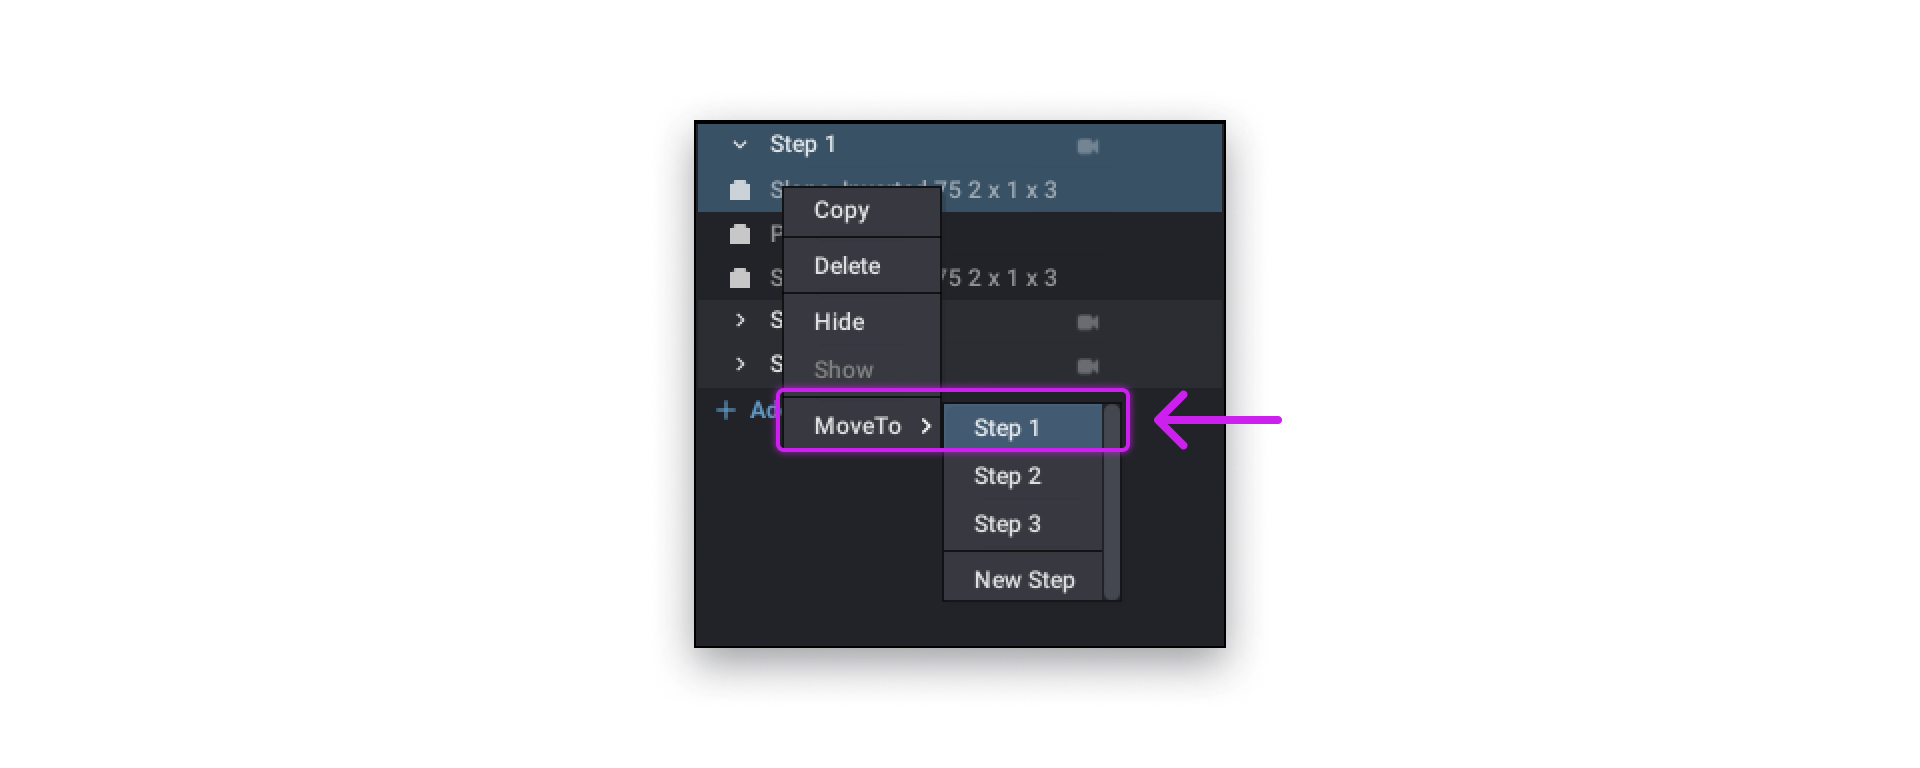
or, right-click on a part in the step list, select Move To and then click on a destination step.

Clicking on New Step at the bottom would create a new step at the very end of the list and move the selected parts there.
Organizing steps
To move an entire step:
- Select the step(s) you want to move
- Grab and drag them into the step list. A blue line will appear to indicate where they'll be moved to.
The Step Editor is the first stage of creating Instructions. Its purpose is to manage steps, such as creating, deleting, moving, and managing submodels. It can also create steps for you.